
Wednesday, August 10, 2011
Tim Holtz distress stained Happy Birthday!

Saturday, May 21, 2011
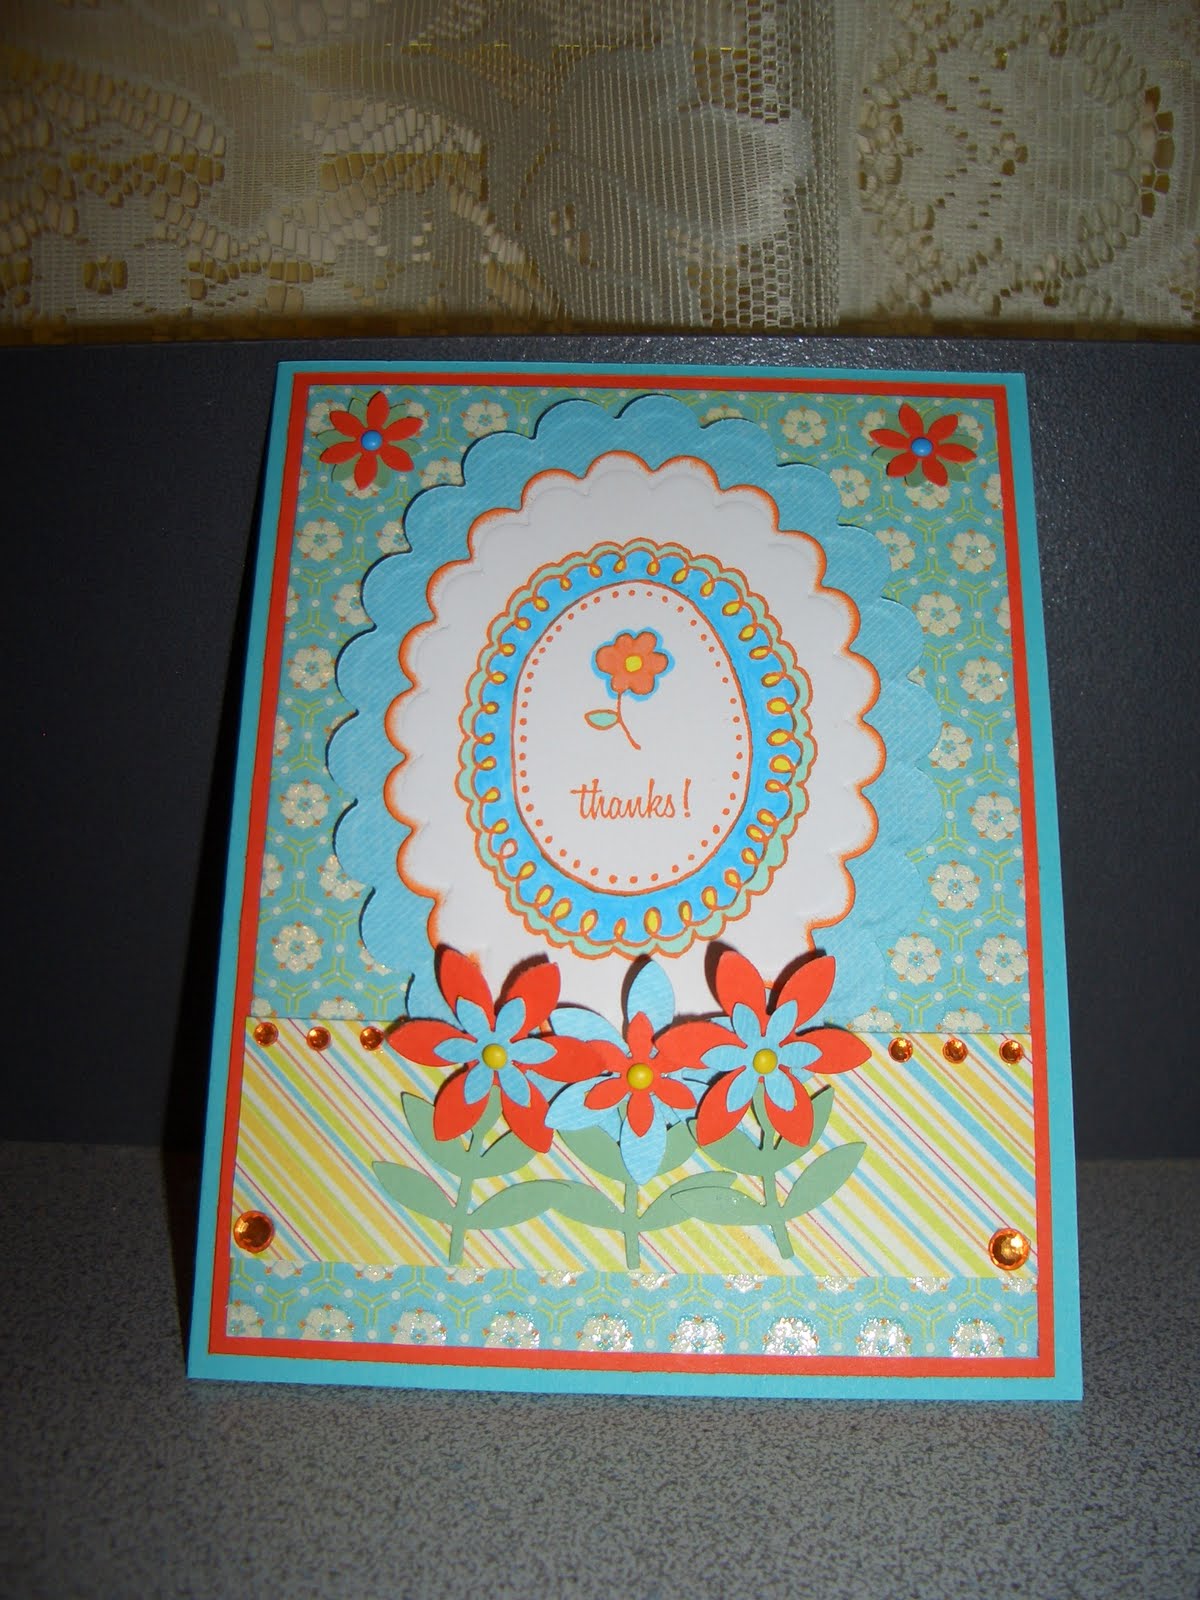
A special Thanks!
Gruffies Birthday using Copics

Sunday, May 8, 2011
MIL Tray, Printers Tray altered for gift!

Lots of fun! Details are in the post below this one!
For my Mother In Law on Mother's Day
I made this altered tray for my MIL on Mother's Day. It's a 7 Gypsies tray, that I did a quick white wash over. I selected several designer papers from 7 Gypsies, and several others. The trinkets I have been collecting awhile, but some are Tim Holtz, some are Bo Bunny, some are Making Memories, and some are from Red Lead, a specialty shop in Webster Groves, Mo. Some items are some things I had from my grandmother's sewing kit, like the white button where I put glitter in the middle. The spoon is one of my favorite items. I made this during a St Louis Splitcoast stamper's swap where our theme was altered items. I knew it would make a good feature on an altered tray! I also made the zipper roses, where I found the tutorial on one of the many blogs I visit, sorry I can't remember which one, but thanks for this cool idea! I also made the hemming lace flower by bunching up the lace in a gathering and stitching in place. I used some Tim Holtz bottles and typed Nehi Time in one and just the word Time in the other. I got this idea from the Tim Holtz website, when Tammy Tutterow showcased her beautiful tray. I simply had fun putting this together from finding the pictures of my Mother in law when she was young. Her sister helped by sending pictures to me in secret! So much fun to work with these fun photos! I wasn't afraid to cut the cute photo of my MIL when she was young in pigtails with a bottle of Nehi Orange Pop in her hand! I really liked putting all four pieces in each of those four frames. I also took another photo of her after she had her baby--now my hubby! The photo is cut in two pieces and centered in two frames. It contains her father and mother. The cute little framed picture of the four kids is my MIL second from the right, her sister and two brothers. I really love their wedding photo, they are still together after 55 years! Amazing! Still going strong! I had been thinking of doing this for quite awhile, and have gathered trinkets and collectables for a long time. These collage frames are really fun to do and the recipient was very happy with her Mother's Day gift!
 Happy Mother's Day to all the wonderful hard working mothers out there! Hope your day was beautiful!

Saturday, May 7, 2011
My First Award! from Julie at: http://designs-by-julie.blogspot.com/

The Liebster Blog award is given to bring newer blogs into the light.
It's a great way to share blogs that might not otherwise have been noticed and should be! As recipient you must share the love and pass it along to others, as well as these four things:
1. You must post on your blog and tell a little about the award and
announce your 3-5 picks.
2. Let those know you have chosen them.
3. Copy and post the award on your blog for all to see.
4. Have fun and continue to inspire
The 5 recipients I have chosen for this award are, in no particular order...
It's a great way to share blogs that might not otherwise have been noticed and should be! As recipient you must share the love and pass it along to others, as well as these four things:
1. You must post on your blog and tell a little about the award and
announce your 3-5 picks.
2. Let those know you have chosen them.
3. Copy and post the award on your blog for all to see.
4. Have fun and continue to inspire
The 5 recipients I have chosen for this award are, in no particular order...
1. http://serenitylanedesigns.blogspot.com
2. http://ariiaana.blogspot.com/
3. http://www.shareyourgifts.blogspot.com/
4. http://lastampers.blogspot.com/
5. http://ogilviesfollies.blogspot.com/
I chose these blogs because they are new, and they offer some great ideas, and have fun things to see.
I wish to thank Julie who visited my blog and simply offered this neat award! I hope to post a new project soon!
Thursday, April 21, 2011
Fun shadow box project!

Cricut Imagine More Birthday card
I used the Cricut Imagine cartridge Imagine More and loved the printed papers that coordinate together!
 I chose a bonus image for the center of the card of the Rooster and the chick with umbrella. I thoughtthis was so cute to use for a Birthday card from "All of Us" ---a group of people at work.
The Happy Birthday sentiment is from Beyond Birthdays but I chose coordinating solid colors from the Imagine More cartridge to fill in the letters with color. The --"From All of Us" sentiment is just letters I chose from the Alphalicious cartridge and filled in with Imagine More designer paper patterns. All of the colors and patterns coordinate so nicely! I simply sponged around some of the letters to bring them out a little more since all the colors and patterns coordinated so well and just wanted to pop out certain words. This was certainly fun, and loved using the Cricut Imagine to make such a fun card! This machine is amazing to print and then cut all at one time! I sewed around two of the panels just to provide more texture and accent.

The Happy Birthday sentiment is from Beyond Birthdays but I chose coordinating solid colors from the Imagine More cartridge to fill in the letters with color. The --"From All of Us" sentiment is just letters I chose from the Alphalicious cartridge and filled in with Imagine More designer paper patterns. All of the colors and patterns coordinate so nicely! I simply sponged around some of the letters to bring them out a little more since all the colors and patterns coordinated so well and just wanted to pop out certain words. This was certainly fun, and loved using the Cricut Imagine to make such a fun card! This machine is amazing to print and then cut all at one time! I sewed around two of the panels just to provide more texture and accent.
Sunday, March 27, 2011
Butterfly card using SCS Sketch SC325
This is a sketch layout from Splitcoast Stampers. Roxy71 posts a new sketch every week! I liked this one, so I tried it. This is sketch challenge 325 or SC325. I also had the SCS Inspiration Challenge in mind for this card. I viewed IC277 from the online store Ruche. I liked the photograph here that inspired me to make this card.
 I had fun with this one. I used a home made embossing folder that I made with jute twine. I simply laid pieces of jute twine on a piece of cereal box cardboard, and glued then in place with very tacky glue-I used Scoth brand white liquid glue, it is one of my favorites. I used nitrile gloves for this so I could lay glue all through the twine so it would stick well to the cardboard in straight lines. They weren't perfect straight lines and that's ok because this was the look I was trying to achieve. Then when the pieces of jute were dry, I brushed Modge Podge over the entire surface and let dry again. I let it set overnite to cure. When I made this card, in order to get the embossing to work I slightly dampened the green cardstock with a water mister and spritzed the triangle pieces, and put it through my Cuttlebug. It's a plain texture, but it worked nicely. I like the color combination inspired by the mosaic paper, and colored the butterfly with my Copics. I used Spellbinders Labels Eight nestie for the die-cut of the butterfly.

Sunday, March 6, 2011
Josh's BD Card

I then used my Cricut Imagine to cut out the Happy Birthday sentiment and the Skateboarder and the word Skate. The Skateboarder and the word Skate came from a Cricut Lite Cartridge by the name of "DUDE". The star and the flourish came from my Cricut Imagine Cartridge by the name of JT Art . It has a steampunk feel to it, and it looks great to use for teens and young adults. My son has been a skateboarder since he was a pre-teen. Now he gives lessons to pre-teens he has been at it so long. The background star paper I found at Hobby Lobby. I used some black square brads in the corners and just lifted the image on three layers of cardstock to bring out colors.