Here are some cards I made for a Masculine Card Swap on SCS.
Sure had a fun time making! I used several Cricut cuts from the Heritage cartridge. I also used the Cricut Imagine cartridge JT. It has a nice steampunk feel to it. I chose several masculine papers and Heritage cuts that looked masculine. Some of the labels are from the Heritage cartridge too.
A place to explore crafting with paper, altered art, mixed media, vintage, new ideas, frugal ideas and general fun with designing or creating paper art!
Welcome!
Hello and welcome! I would love to share with you my love of paper crafts, altered art, mixed media, card making, scrap pages and fun! Come right in, sit right down, have a cup of your favorite beverage and relax!
Showing posts with label happy birthday. Show all posts
Saturday, February 4, 2012
Saturday, January 21, 2012
Masculine Birthday Card
Birthday Card I made for my son. For this card, I used some Tim Holtz embossing folders, and inked them two different ways. For the car in the top left, I inked inside the folder first before embossing the cardstock. The gears and the car in the bottom right, I inked after I embossed them. The Birthday sentiment is a studio 112 stamp. Tied a black cord around it. Background dp is Stella Rose from My Minds Eye.
Thursday, February 10, 2011
Three Wishes Birthday
I made a card for a friend at work. This was fun to do! The three panels have eyelets and I strung a black cording through the eyelets to connect the panels with three birthday sentiments, for three wishes! The designer paper used is from Recollections Purple Daze. The ribbon is two pieces together, one green and one purple to go with the theme. I used some Hero Arts metallic jewels in the top left and bottom right corners. The Happy Birthday sentiment is from a set I found at Target. I used some prima flowers and colored some plain white ones with some purple and green markers to coordinate with the color theme.
I think it's a fun card! Let me know what you think!
Saturday, January 15, 2011
I made these two cards for some male family members. I used the Cricut Imagine More and my Old West font cartridge. The top card I used the Old West font, and chose an Imagine More paper to fill the letters. I did the shapes with craft paper and sponged Ranger walnut stain ink around the edges. The top card's letters were also sponged around the edges with the same ink. The bottom card I used Old West font and also chose Imagine More paper to fill in the colors. The wild west is flourish and shadow fonts used together. The Happy Birthday sentiment on the botttom card was made using the Imagine More cartridge and I layered it by having the Imagine print and cut each layer and I pieced it back for dimension. The central star is an icon from Old West, the horses are images from Old West. I did distress and stain around the panels on both cards. A friend got me those cute star clasps I put on both sides of the bottom card. These were fun to create!
Sunday, November 7, 2010
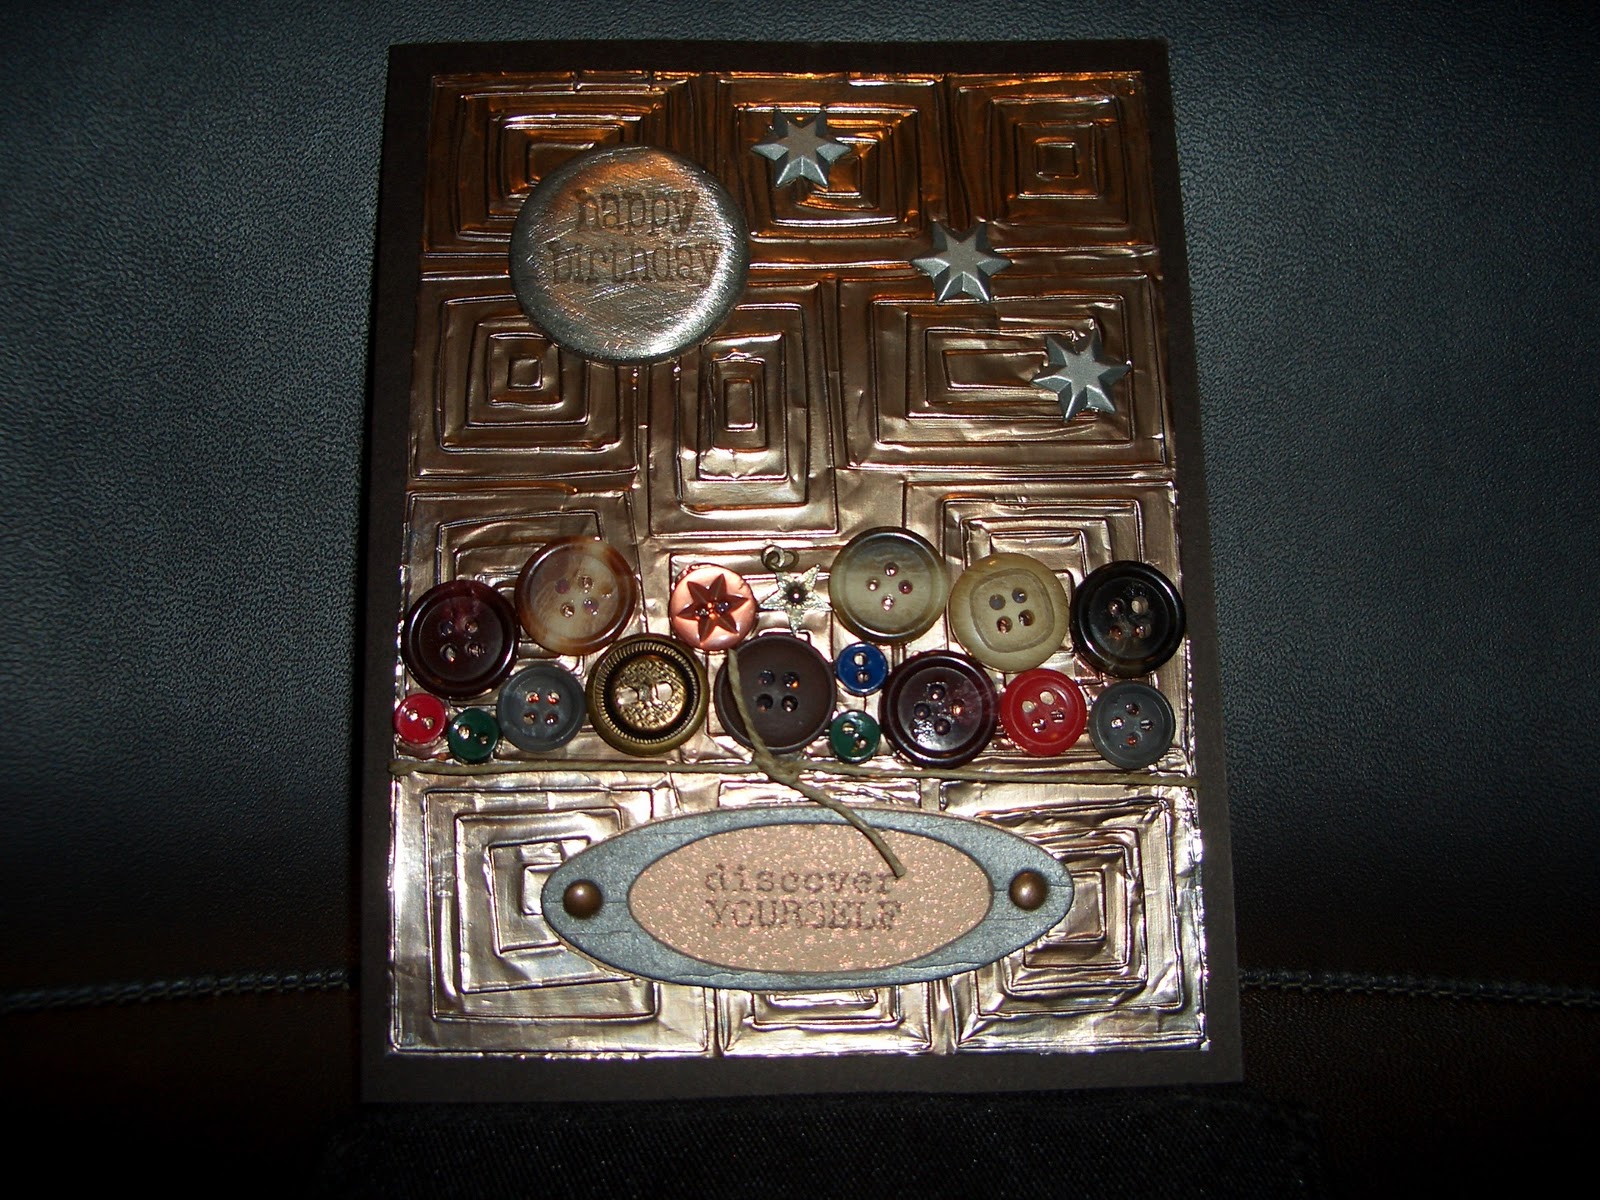
Card for boy-Metallic!
I usually need to make quite a few masculine cards. Here is one I made with a nephew in mind. I had read on Splitcoast Stampers that tin foil was used in a Cuttlebug embossing folder, and I loved how that looked. I tried it a little differently. I did put tin foil over a piece of cardstock and then I ran it through my Cuttlebug. I kept the tin foil in place on the cardstock and adhered it to the cardstock so it would retain the shape. This is the Cuttlebug embossing folder with the off centered rectangles. I then used a sponge dobber with WalnutStain Distress ink to give the foil a tint of color to age it a little. Then I tied a thin piece of twine around the card. I glued some old buttons on it with Glossy Accents glue. The big brad I sanded a little first and then I stamped the happy birthday with brown Stazon ink. The oval around the discover yourself sentient is grungeboard and I inked that up with Silver pigment ink. I used two copper brads to adhere it to the surface. I found the three star brads in my collection of brads. I think these stars came from Target in a star brad collection in their scrapbook isle. I then adhered the whole thing to a standard A2 size card. It's rather shiny to look at, but it looks burnished and masculine. Lots of fun!